When you sign-up for Exchange Online (or Office 365, which includes Exchange Online), an Exchange organization is created for you in Microsoft’s datacenter.
One of the really cool things about Exchange Online is that besides its easy-to-use web interface, you also have the ability to manage your cloud-based organization using PowerShell. Shell-savvy administrators can run Exchange Management Shell commands against the service. This gives you unprecedented remote management capabilities for your cloud-based organization. If you’re connecting your on-premises Exchange Organization to your cloud-based organization in what’s known as a hybrid topology, you can seamlessly manage your on-premises and cloud-based organizations from the Shell.
You don’t need to have any Exchange management tools installed on your computer when connecting to Exchange Online or an on-premises Exchange server using a remote PowerShell session. All you need is .Net Framework 4.5 or 4.5.1 and Windows Management Framework 3.0 or the Windows Management Framework 4.0.
Still on an older OS? You can install Windows PowerShell and WinRM on Windows XP SP3, Windows 2003 SP2, Windows 2008 SP1 and Windows Vista SP1 or later – see Install and Configure Windows PowerShell.
For details about managing your cloud-based organization using the Shell, see Connect to Exchange Online using remote PowerShell. It includes a set of commands you can use to connect to the PowerShell endpoint in Exchange Online. You can save the commands with in a PowerShell script (simply copy them to notepad or other text editor and save the file with a .ps1 extension) and connect to your cloud-based organization with a single-click.
I find it even more convenient to add it as a function in my PowerShell profile. It allows me to connect to Exchange Online using a single command which can be completed using tab completion in the Shell.
-
Open your PowerShell profile (Microsoft.PowerShell_profile.ps1). The default path is C:\Users\<user name>\Documents\WindowsPowerShell\.
Don’t have a PowerShell Profile?
- A PowerShell profile file and the WidnowsPowerShell folder are not created by default. Type $Profile in PowerShell to see the default path where it expects the file to reside.
- If you’ve never created a PowerShell profile, you can fire up Notepad or your favorite text editor (my favorite is Notepad++), paste the function from the next step and save the file as Microsoft.PowerShell._profile.ps1 in the default path returned by the $Profile variable.
Store your PowerShell profile in your OneDrive
You can also have a single PowerShell profile file stored in your OneDrive and sync it to all your computers. See Synchronize your PowerShell Profile with OneDrive.
-
Paste this code at the bottom (or anywhere in the profile file but not within an existing function)
1
2
3
4
5
6
function EXO
     $UserCredential = Get-Credential
     $Session = New-PSSession -ConfigurationName Microsoft.Exchange -ConnectionUri https://outlook.office365.com/powershell-liveid/ -Credential $UserCredential -Authentication Basic -AllowRedirection
     Import-PSSession $Session
}
function noEXO {Get-PSSession | ? {$_.computername -like "*.outlook.com"} | remove-pssession}
Collapsing the EXO function into a one-liner
If you’re crazy about crazy, efficient PowerShell, you can collapse the EXO function into a one-liner. This removes the need to call the Get-Credential and New-PSSession commands separately.
1
2
function EXO {
     Import-PSSession (New-PSSession -ConfigurationName Microsoft.Exchange -ConnectionUri https://outlook.office365.com/powershell-liveid/ -Credential (Get-Credential) -Authentication Basic -AllowRedirection) }
Now start a new PowerShell session and type EXO (you can also type the letter e and use tab completion).

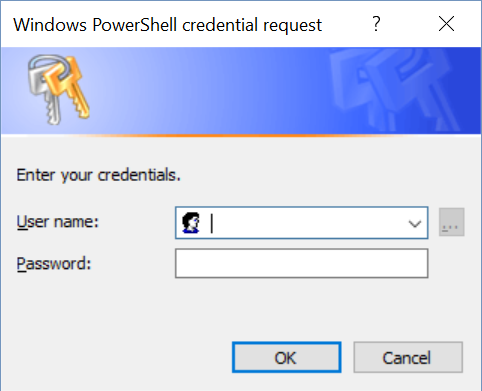
Figure 1: Enter your Exchange Online/Office 365 credentials when prompted.When prompted, enter your Exchange Online credentials and in a few seconds you’ll be managing your cloud-based organization. When you’re done, type noEXO to terminate the session.
Connect to Office 365 Security and Compliance Center (SCC) PowerShell
The Security and Compliance Center is a separate workload in Office 365, with its own set of cmdlets and its own PowerShell endpoint. For Exchange Online, you’re connecting to https://outlook.office365.com/powershell-liveid/. Similarly, for the SCC, the endpoint is https://ps.compliance.protection.outlook.com/powershell-liveid/.
Here’s a function to connect to SCC PowerShell:
1
2
function SCC {
Import-PSSession (New-PSSession -ConfigurationName Microsoft.Exchange -ConnectionUri https://ps.compliance.protection.outlook.com/powershell-liveid/ -Credential (Get-Credential) -Authentication Basic -AllowRedirection) }

{ 2 comments… read them below or add one }
Awesome post – thanks for this cool tip!
Similiar to http://briandesmond.com/blog/add-office-365-exchange-online-to-your-powershell-profile/ …
{ 1 trackback }